
There’s something so special about cooking with fresh clams. Whether you’re planning a cozy seafood pasta night or a clam chowder feast, knowing how to clean clams properly is essential. I remember the first time I tried cleaning clams—I was a bit intimidated, but I quickly learned that it’s easier than you might think! With this simple method, you’ll have perfectly purged clams ready for your delicious recipes in no time.
Why You’ll Love How To Clean Clams — The Best Way to Purge Sand 1 hour 15 minutes
- Fast: You can get your clams cleaned and ready in just over an hour.
- Easy: This method is straightforward and requires minimal effort.
- Fresh: Cleaning clams at home means you get to enjoy that ocean-fresh taste.
- Versatile: Clean clams can be used in various dishes, from pasta to soups.
Ingredients
- Fresh clams: Look for clams that are tightly closed; this indicates they are alive and fresh.
- Salt: You will need about 1/3 cup of salt per gallon of water for the saline solution.
- Water: Enough to fully submerge your clams, ideally in a large bowl or bucket.
How to Make How To Clean Clams — The Best Way to Purge Sand 1 hour 15 minutes
- Start by rinsing the clams under cold running water. This will help remove any surface dirt and debris.
- In a large bowl or bucket, mix together the salt and water to create a saline solution. Use approximately 1/3 cup of salt for every gallon of water.
- Submerge the clams in the saline solution, ensuring they are fully covered. This is where the magic happens!
- Let the clams soak for about 1 hour. During this time, they will expel any sand and grit, making them ready for cooking.
- After soaking, take the clams out of the water and rinse them again under cold running water to remove any remaining sand.
- Your clams are now clean and ready to be cooked! You can use them in a variety of dishes like clam chowder or a simple pasta dish.
Substitutions & Additions
If you’re feeling adventurous, you can add some flavor to your saline solution! Try including:
- Garlic: Crush a few cloves and add them to the water for an aromatic touch.
- Herbs: Fresh thyme or bay leaves can give the clams an additional flavor boost.
Tips for Success
- Make sure to use a large enough container so the clams can be fully submerged.
- Don’t skip the rinsing step after soaking; it’s vital to get rid of any leftover sand.
- When buying clams, always check that they are alive. Discard any that are open and do not close when tapped.
How to Store How To Clean Clams — The Best Way to Purge Sand 1 hour 15 minutes
If you have leftover clams, store them in a bowl covered with a damp cloth in the refrigerator. Be sure to use them within a couple of days for the best results. Never store them in water or an airtight container, as they need air to stay alive.
FAQs
- Can I freeze clams after cleaning? Yes, you can freeze clams, but it’s best to cook them first as freezing can affect their texture.
- How do I know if clams are bad? If they are open and do not close when tapped, or if they have an off smell, it’s best to discard them.
- How long can I soak clams? Soaking for about 1 hour is ideal for purging sand, but you can soak them longer if needed.
Now that you know how to clean clams, you can enjoy this delightful seafood at home. For more delicious recipes, check out easy hot chocolate fudge or Japanese apple salad for treats you will love!
If you enjoyed this guide, be sure to follow us on Pinterest for more delicious ideas and inspiration!

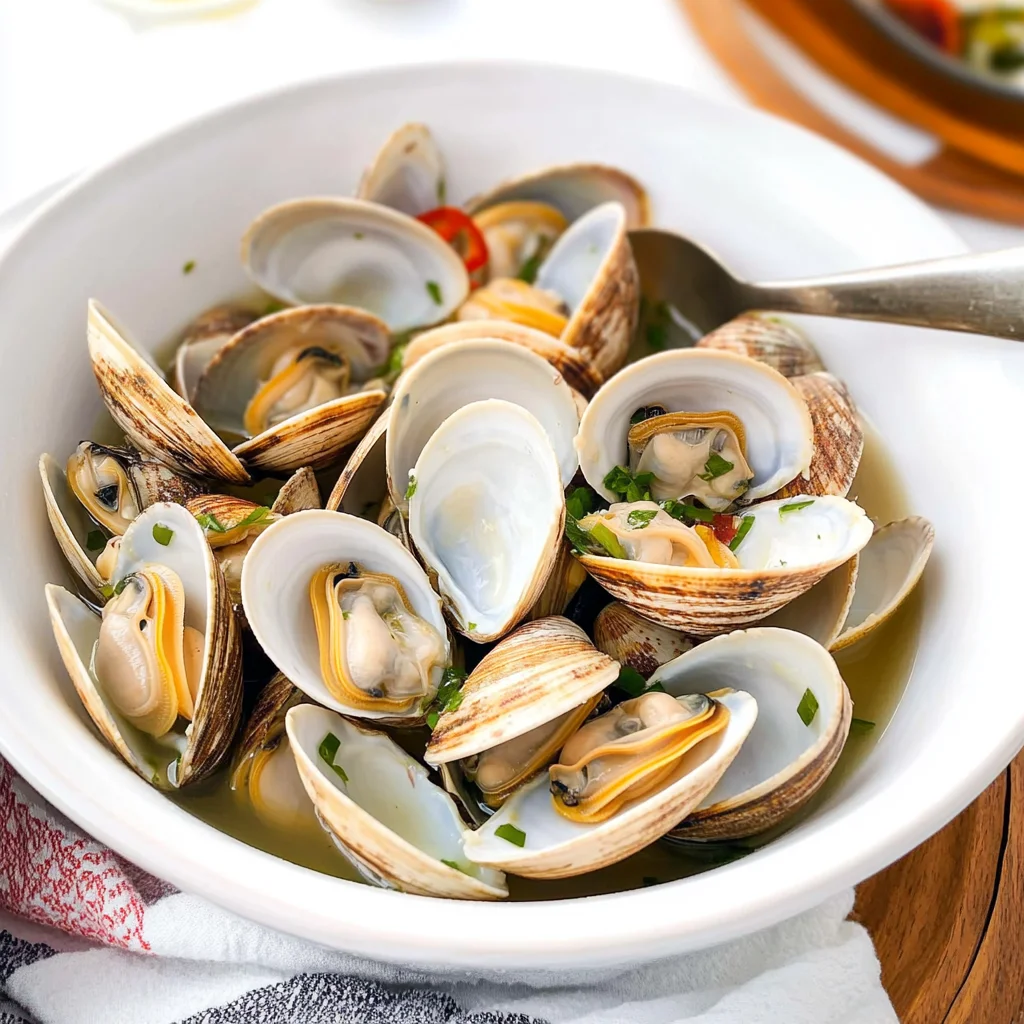
How To Clean Clams — The Best Way to Purge Sand
Ingredients
Equipment
Method
- Step 1: Start by rinsing the clams under cold running water to remove any surface dirt and debris.
- Step 2: In a large bowl or bucket, mix together the salt and water to create a saline solution.
- Step 3: Submerge the clams in the saline solution, ensuring they are fully covered. Let them soak for about 1 hour.
- Step 4: After soaking, take the clams out of the water and rinse them again under cold running water.
- Step 5: Your clams are now clean and ready to be cooked!