
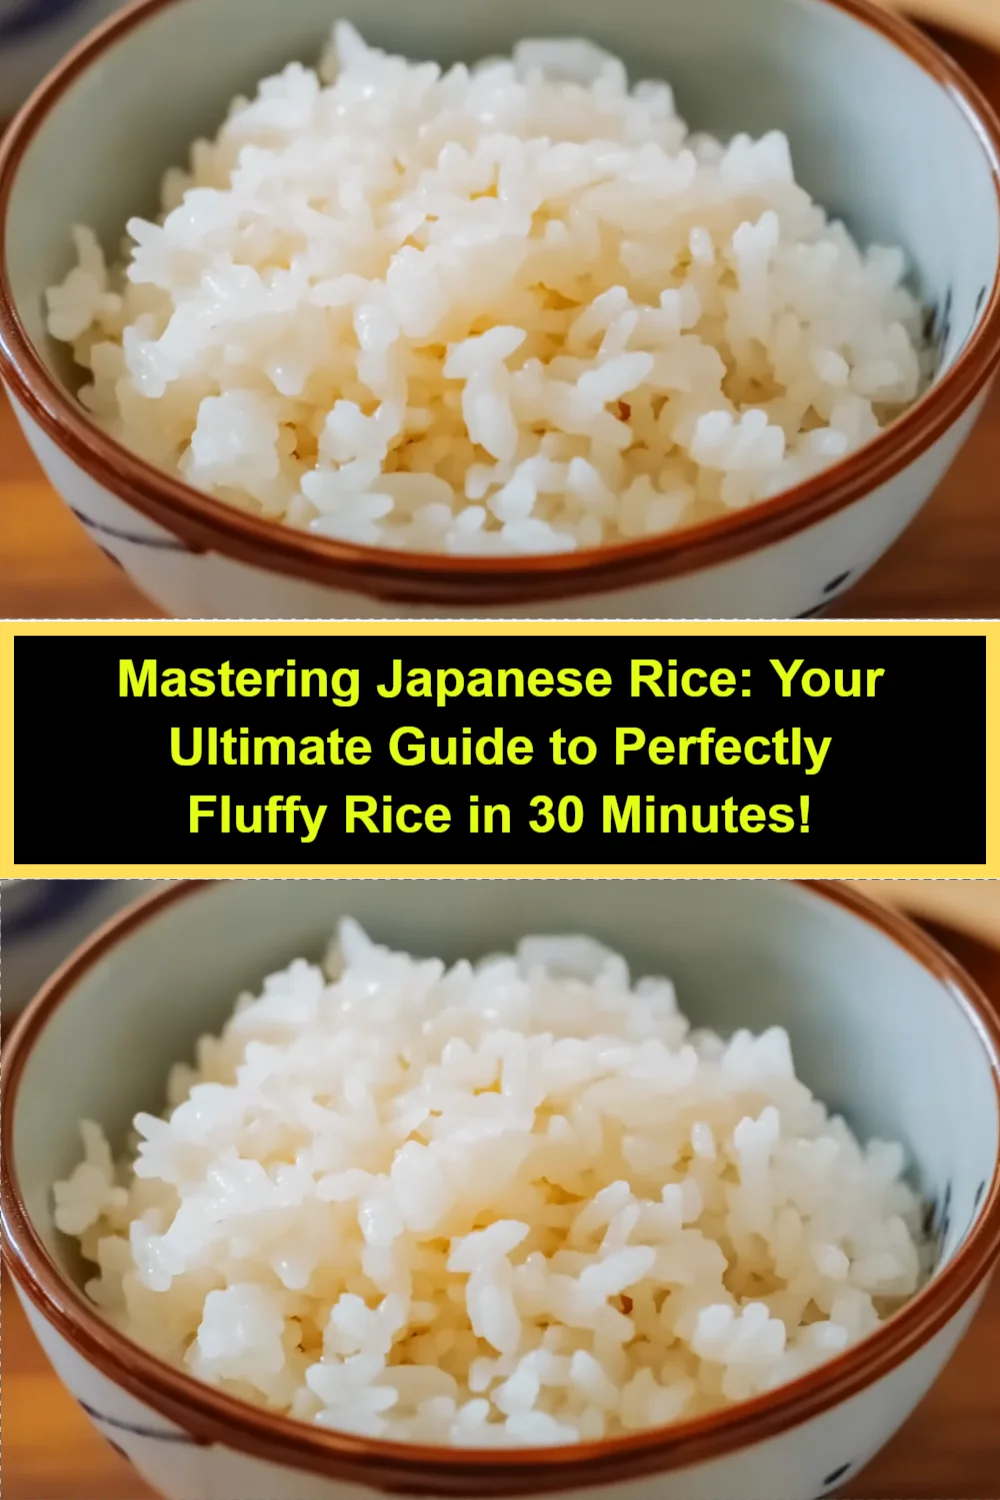
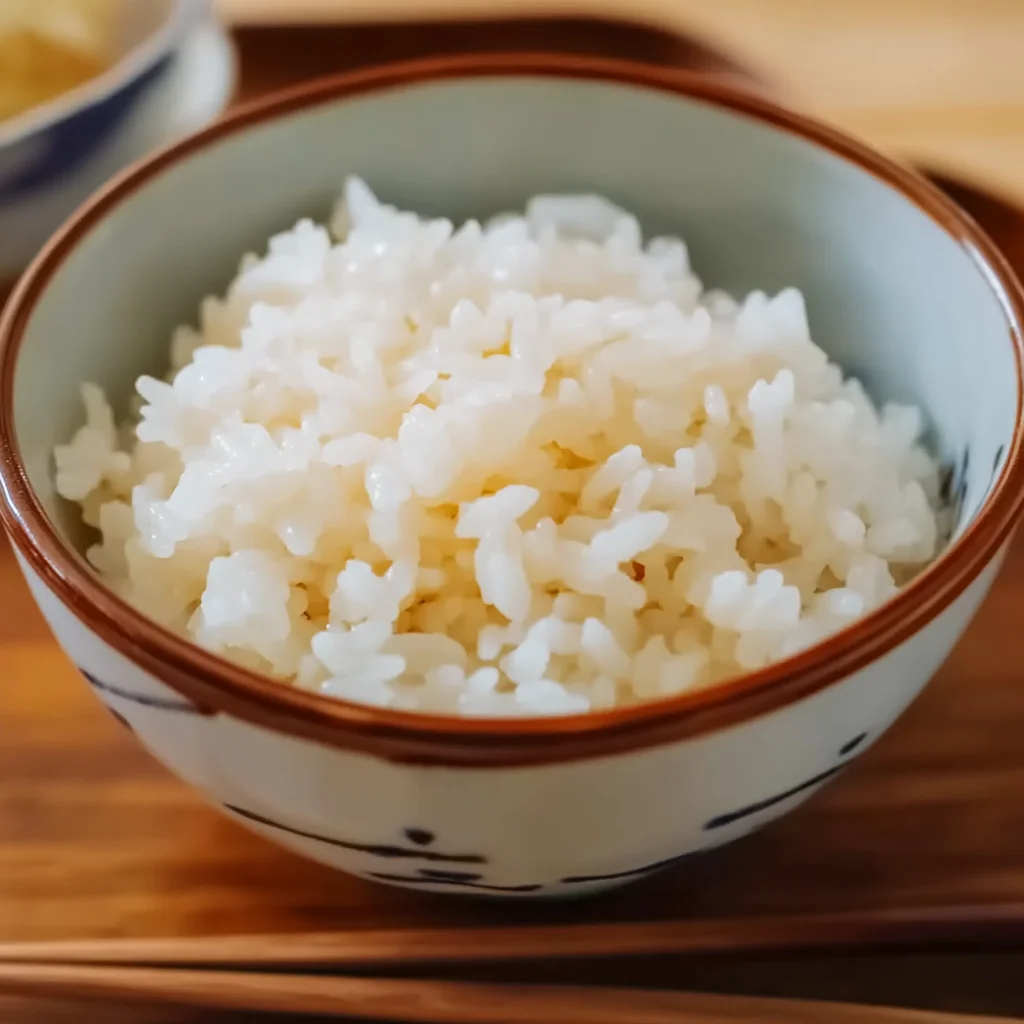
There’s something so comforting about a warm bowl of perfectly cooked rice, isn’t there? It reminds me of family gatherings and cozy dinners at home. Today, I’m excited to share with you a super easy recipe for Japanese rice that will become a staple in your kitchen. Not only is it quick to make, but it’s also incredibly versatile and pairs beautifully with many dishes!
Why You’ll Love The History of Japanese Rice
- Fast: You can have this delicious rice ready in under 30 minutes.
- Easy: The simple rinsing and cooking method is perfect for cooks of all levels.
- Giftable: A bowl of this rice can elevate any meal, making it a wonderful gift for friends and family.
- Crowd-pleasing: Whether it’s a sushi night or a comforting curry, this rice is sure to please everyone at the table!
Ingredients
- 2 cups Japanese short-grain rice: This type of rice is sticky and perfect for sushi or just enjoying on its own.
- 2 1/2 cups water: The right amount of water is key to achieving that fluffy texture.
- Optional: pinch of salt: This adds a touch of flavor, but it’s not necessary if you prefer it plain.
How to Make The History of Japanese Rice
- Start by rinsing the rice under cold water in a fine mesh strainer. You want to rinse until the water runs clear to remove excess starch. This step is crucial for achieving that perfect texture!
- In a rice cooker or pot, combine the rinsed rice and water. If you’d like, add a pinch of salt for extra flavor.
- If you’re using a rice cooker, follow the manufacturer’s instructions to cook the rice. If you’re using a pot, bring the water to a boil, then reduce the heat to low. Cover and let it simmer for 18-20 minutes, or until all the water is absorbed.
- Once cooked, remove from heat and let the rice sit covered for 10 minutes. This steaming step is key to fluffy rice!
- Finally, fluff the rice with a fork before serving. This will separate the grains and make it even more inviting.
Substitutions & Additions
If you’re feeling adventurous, here are some fun substitutions and additions you can try:
- Swap in brown rice for a healthier version, but adjust the cooking time as it takes longer to cook.
- Add a splash of soy sauce or rice vinegar to the cooking water for a hint of flavor.
- Mix in cooked vegetables or herbs after fluffing for a colorful side dish.
Tips for Success
Here are a few tips to ensure your Japanese rice turns out perfectly every time:
- Don’t skip the rinsing step! It makes a huge difference in the final texture.
- Letting the rice sit after cooking is essential for fluffy grains. Patience is key!
- If you have leftovers, store them in an airtight container to keep them fresh.
How to Store The History of Japanese Rice
Leftover rice can be stored in the refrigerator for up to 4 days. Just make sure to place it in an airtight container. You can also freeze it for longer storage; just be sure to let it cool completely before transferring it to a freezer-safe bag. It will keep well for up to three months!
FAQs
Can I use other types of rice? While this recipe is specifically for Japanese short-grain rice, you can experiment with other types, but the texture and cooking time may vary.
How can I reheat leftover rice? To reheat, sprinkle a little water over the rice and pop it in the microwave for a minute or two. You can also steam it for the best texture!
Is it necessary to let the rice sit after cooking? Yes! This step helps the rice steam and achieve that fluffy texture. Trust me, it’s worth the wait!
What should I serve with Japanese rice? This rice pairs wonderfully with teriyaki dishes, curries, and even as a base for tasty rice bowls. For more delicious combinations, check out my recipe for Oyakodon!
Now that you have your Japanese rice recipe down, you’re ready to impress your family and friends! For even more delicious recipes, check out this delightful Japanese apple salad or these tasty pork spring rolls for treats you will love!
If you enjoyed this recipe and want to discover more, be sure to follow our Pinterest page for the latest ideas and inspiration!
Japanese Rice
Ingredients
Equipment
Method
- Step 1: Start by rinsing the rice under cold water in a fine mesh strainer until the water runs clear to remove excess starch.
- Step 2: In a rice cooker or pot, combine the rinsed rice and water. If you'd like, add a pinch of salt.
- Step 3: If using a rice cooker, follow the manufacturer's instructions. For a pot, bring the water to a boil, reduce heat to low, cover, and let it simmer for 18-20 minutes.
- Step 4: Once cooked, remove from heat and let the rice sit covered for 10 minutes.
- Step 5: Fluff the rice with a fork before serving.